
Adding the keyword SectionLabel, RowLabel or SeatLabel to the HouseStub when creating an Event will dynamically print the associated seat information on the ticket.
Holding Seats
Prerequisites: SeatMap, PriceGuide, Event
Main Screen > Event List
SeatHold Entry Screen:
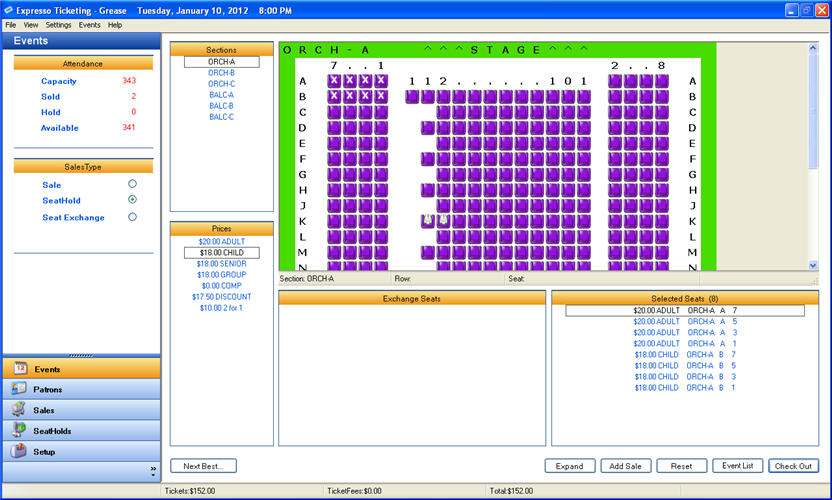
Descriptions:
- Attendance - displays the Capacity, Available, Sold and Hold number of seats for selected Event.
- SalesType - sets the sale mode for the current Transaction.
- Next Best Available Seats - automatically selects the Best Available Seats starting in the upper left and moving right.
- Sections - displays a list of Sections that are included in the SeatMap used to create the Event.
- Prices - displays a list of enabled Prices that are included in the PriceGuide used to create the Event.
- Selected Seats - displays a list of Prices, TicketTypes and Seats included in the Sale.
- Add Sale - adds the selected seats to the Shopping Cart and returns you to the main EventList.
- Reset - release selected Seats and reset the Transaction.
- EventList - returns to main EventList.
- Checkout - complete seat selection and begin Checkout procedures.
Holding Seats
- Double click the Event from the main EventList.
- Select (SeatHold) for the SalesType.
- Select the desired (Price\PayType) for the seats.
- Click on the seat grid at a point where you would like to begin selecting seats.
-
While holding the mouse button, highlight the seats you would like to include
in and release the mouse.
Note: Alternatively, you can click the Next Best Available Seats link and enter the number of requested Seats. This function will automatically select the Next Best Available Seats starting in the upper left and moving right.
Repeat Steps 3- 5 if you need to select additional seats. -
After all seats are selected you can Add Sale and continue ticketing a
different event or select Checkout to complete the transaction.
Note: Once you choose to Add Sale or Checkout you will not be able to return to any event that has pending sales without resetting the seats for that event.
Releasing\Selling SeatHolds: Main Screen > SeatHolds
SeatHold Releasing\Selling Entry Screen:
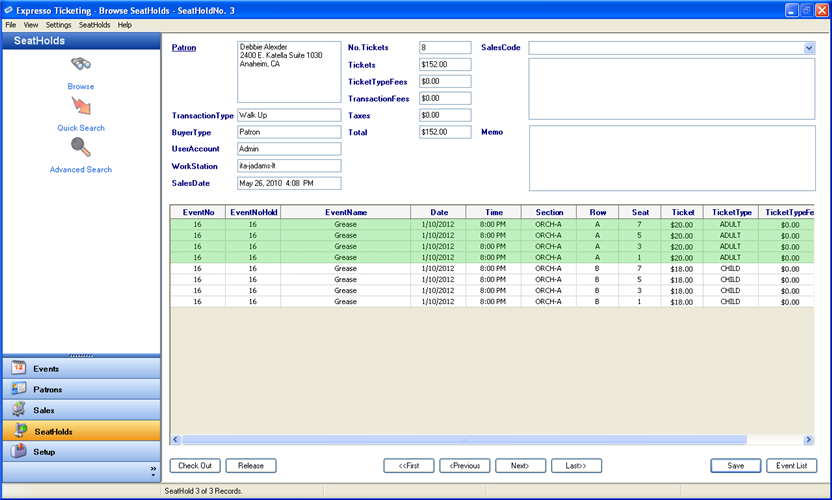
Releasing SeatHolds
- Locate SeatHold record using Browse, Advanced or Quick Search option.
-
Select the Release button in the lower left area of the screen.
***Note: To select individual seats, hold down the CTRL key and click each record from the Seat grid.
Selling SeatHolds
- Locate SeatHold record using Browse, Advanced or Quick Search option.
-
Select the Checkout button in the lower left area of the screen.
***Note: To select individual seats, hold down the CTRL key and click each record from the Seat grid.
Main Screen > SeatHolds > Browse
Browse SeatHolds Entry Screen:
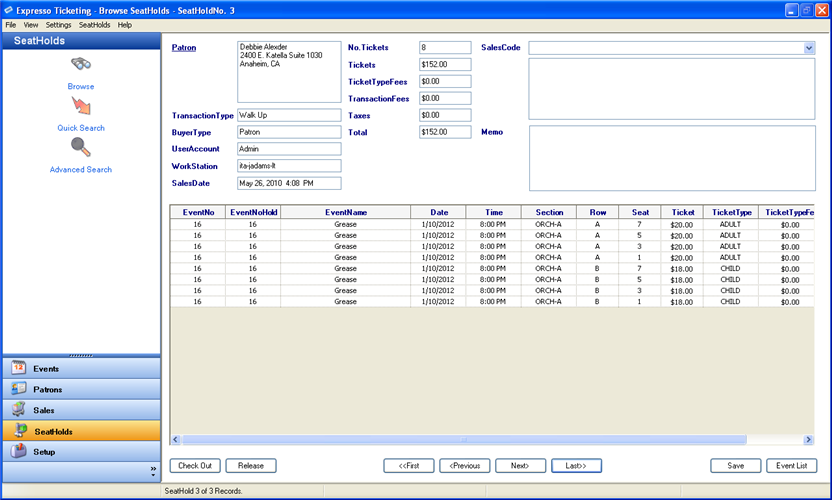
Browse SeatHolds
-
Select First, Previous, Next, or Last button at the
bottom of screen
***Note: Allows user to navigate SeatHolds one record at a time.
Main Screen > SeatHolds > Quick Search
Quick Search Entry Screen:
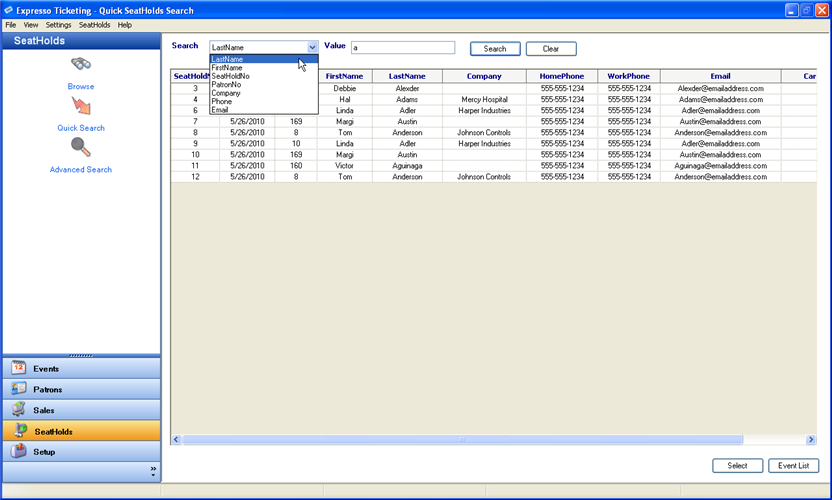
- Search - displays a list of default search types
-
Value - search criteria used when querying Sales.
***Note: default search value can be set under Settings>SeatHolds Search.
- Select Search type from dropdown list.
- Enter the desired search Value.
- Select the Search button.
-
Double click a record from the SeatHolds grid
***Note: Displays a single SeatHold record.
Main Screen > SeatHolds > Advanced Search
Advanced Search Entry Screen:
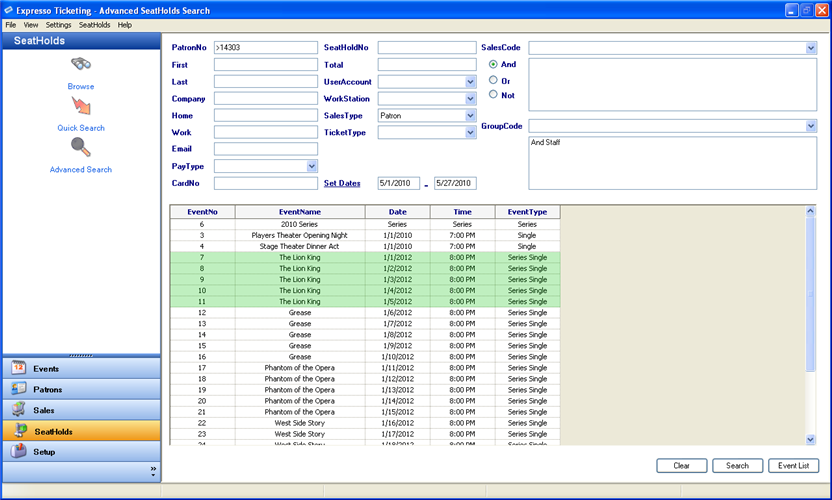
- Enter search values in corresponding textboxes.
- Select dropdown values from corresponding lists.
- Create custom SalesCodes and GroupCodes list from the dropdown lists.
- Highlight events to include in search.
-
Select the Search button
***Note: Displays a browsable set of SeatHold records that meet the search criteria.